At Ninth & Vine, we’re proud to offer our clients a combination of practical and aesthetic benefits through our wall panels. Not only do we provide a wide selection of beautiful wall panels, from faux brick to shiplap wood, and numerous other textured wall panel options, we also ensure our products are easy to work with and install, even if you have no professional training or experience.
With just a little bit of elbow grease, even those without any past experience with wall paneling or other interior design themes can easily install their own panels – saving installation costs in the process. To ensure you’re set up for every part of this process, this two-part blog series will go over the basic preparation steps for a DIY wall panel installation, including the materials and equipment you need, how to prep your space, and more.
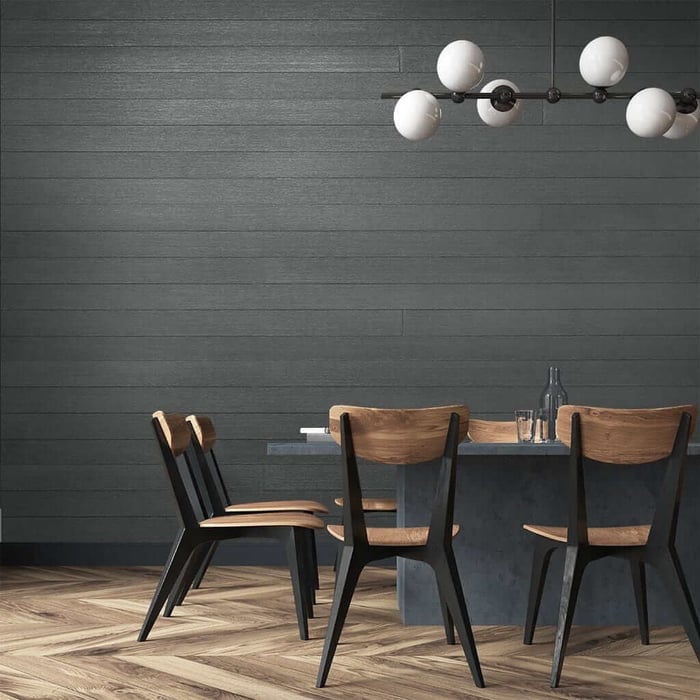
Panel Selection
First and foremost, this job begins with selecting the ideal wall panels for your space.
Equipment Needed
Next, it’s time to ensure you have all the right equipment available for your DIY installation. Items you may need include:
- Tape measure
- Leveling device
- Pencil or other temporary marking item (don’t use a permanent marker)
- A cutting tool, usually a hand saw, miter saw, circular saw or jig saw
- Speed square
- Eye protection and dust mask
- If possible, an extra person to assist you
Measure your Area
Use a tape measure to get the dimensions of the height and width of your wall in inches. Multiply those two numbers together to get the area. Divide the area (inches) by 144 and this gives you the sq ft required for your wall. If you have any doors or windows measure the area of those and subtract that from your total area first. Now multiply that total by 1.1 to get an extra 10% to cover any odd extras. Or you can use the calculator on our website. Which will automatically add the 10% for you.
Cutting to Size
Lay your panels out on a flat surface to check your design, and mark where your cuts will go. Once you have everything marked properly and lined up, it’s time to cut your planks to the ideal size based on your room. We recommend doing this in a different room than where they’ll be installed to avoid sawdust building up. Ensure the ends are cut at a 90-degree square.
Remember that the most important cuts will be the first plank in each row as this will determine your layout. Avoid sister joints, stair steps, and H joints when planning your design and cuts.
A few other tips:
- Measure twice, cut once.
- Use a table saw, circular saw, or jigsaw with a fine-toothed blade.
- Cut your planks in a different room to avoid dust on your walls.
- Test fit your planks in place.
Wall Markings
Once your planks or panels are cut into the right lengths, it’s time to prep the wall surface. First off, clear this area of any remaining debris or protrusions that may impact the installation, including moisture. Heavily textured walls will need to be sanded down and primed before installation.
Thoroughly wash and dry your surface so that the adhesive will stick properly. Then, use your pencil or other marking item, plus your leveler, to mark the walls so you have a visual guide when you’re attaching your panels.
For more on how to prepare for and perform a DIY wall panel installation, go to the ninthandvine.com website where we have detailed DIY installation instructions.